
Beginner guide
You will open the extension, load a photo, make it smaller and save the result. The original file is not changed.
What you need
- DL Image Tools installed and pinned to the toolbar. See Install.
- A JPG, PNG, WebP, AVIF, GIF or BMP image on your computer.
Open the extension
Select the DL Image Tools icon in the browser toolbar. A popup opens with a drop area.
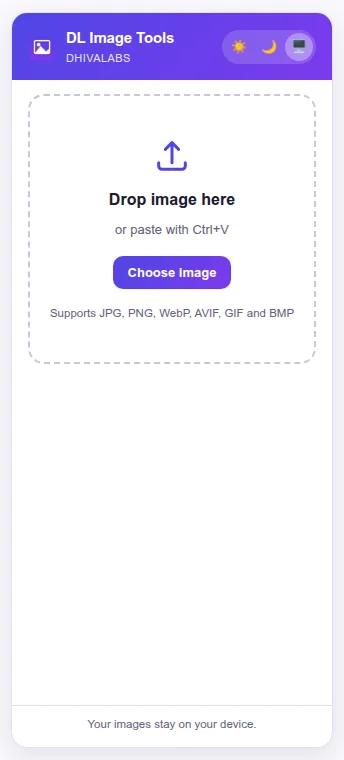
The three buttons at the top right choose the theme: Light, Dark or System. The line at the bottom is a reminder: Your images stay on your device.
TIP
The popup closes when you click outside it, and the images you loaded are not kept. Finish and download before you switch to another window.
Import an image
Use any of these:
- Select Choose image and pick a file. You can select several.
- Drag a file onto Drop image here.
- Copy an image and press Ctrl + V with the popup open.
The popup switches to the tools, with the Compress tab open.
Compress it
Look at the sizes on the right. Original size is the file you loaded, Output size the new one, and Saved the share you save.
Drag the Quality slider. It starts at 80. The preview and sizes update as you move it.
Choose an Output format if you want a different one. It starts as the image's own format; GIF and BMP start as JPG.
Select Download.
The file goes to your browser's download folder, named after the original with -compressed added, for example holiday-compressed.jpg.
Reset puts the quality back to 80 and the format back to the start value.
What you learned
- The toolbar icon opens the popup; images come in by button, drag and drop, or paste.
- Results update as you change settings, and Download saves them.
- Nothing is uploaded: the work happens in your browser.